


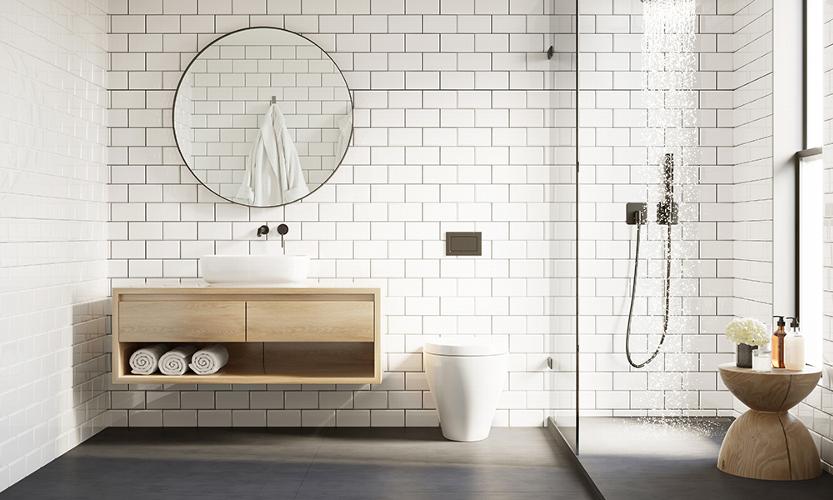
How to tile a bathroom
Tiling a bathroom is not as difficult as it seems, as long as you prepare properly
The most common error for DIY tiling projects is not in the execution or the skill of the tiling itself, but in the preparation. A missed measurement, an uneven surface, or running out of materials. There is nothing worse than utilising some beautiful old spare tiles in your store room, only to find you have enough to tile 9/10s of your bathroom floor with them. It is often difficult to obtain matching colours of tiles, as different brands and batches have different fading characteristics, something that catches out many first time tilers.
The right stuff
Having the right equipment is also essential to the work. Making sure the tiles you use are in good condition, and that you have enough spacers, adhesive, grout, and accessories, such as a tape measure and spirit level are imperative before commencing your tiling job. If you are removing an existing surface, such as old tiles, wallpaper, or plastering, make sure you have the right equipment for that, including goggles for safety, where chips of tiles can be hazardous to eyes.
Preparing the surface
Now that you are ready it is time to get the surface ready too. You may require a hammer, scraper, chisel, and a pry bar to remove existing tiles. After this, you will need to sand the wall to make sure it is as level as possible and also clean, so the tiles and adhesive have something secure to be affixed to. This is one of the most important aspects in tiling a bathroom.
Mapping out your tiling
Find the centre line of your wall, both horizontally and vertically, and mark out your tiles using the tiles themselves, with spacers, from the floor corner upwards. In this way, you can map out the positions of all your tiles, while double-checking, and triple-checking the measurements. From here you can identify the locations of awkward tiles, and plan for these accordingly.
Cutting tiles
For awkward tiles around basins, pipes, and doorframes create a template first, and then mark the tile itself based on the template, so that the curve or corner exactly matches the place it needs to go. Cut your tiles carefully, using safety equipment and a quality tile cutter. These tiles will be placed first, leaving a convenient and accurately measured rectangle in which the remaining tiles can be fixed later on.
Placing tiles
Place adhesive on the wall and ensure it is pressed firmly onto the wall. From there place the tiles on the wall, using spacers and making sure to follow the marks you have made on the surface. Place the remaining tiles methodically until the whole wall is complete. Ideally you will be looking to finish this stage in one day. You can then leave the tiles to dry overnight before grouting.
Grouting
When mixing grout, you are after a creamy consistency, and leave it to settle for a few minutes before you start applying the grout. Use a notch trowel to add the grout onto a squeegee, and then work the grout over the tiles, rubbing to eliminate bubbles and making sure your grout is spaced evenly between the tiles.
Walls before floors
Once you've completed the walls, leave them to settle and then clean them with a sponge wiping off excess grout. If you need to tile the floors too, these should be done after walls, so there is much less danger of staining or damage. You can then follow essentially the same process with the floor tiles. Always make sure this surface is primed and level, ideally with primed plywood.
If you are ever stuck or think your tiling would be better done by a professional, give GSI a call on 07384 378989.